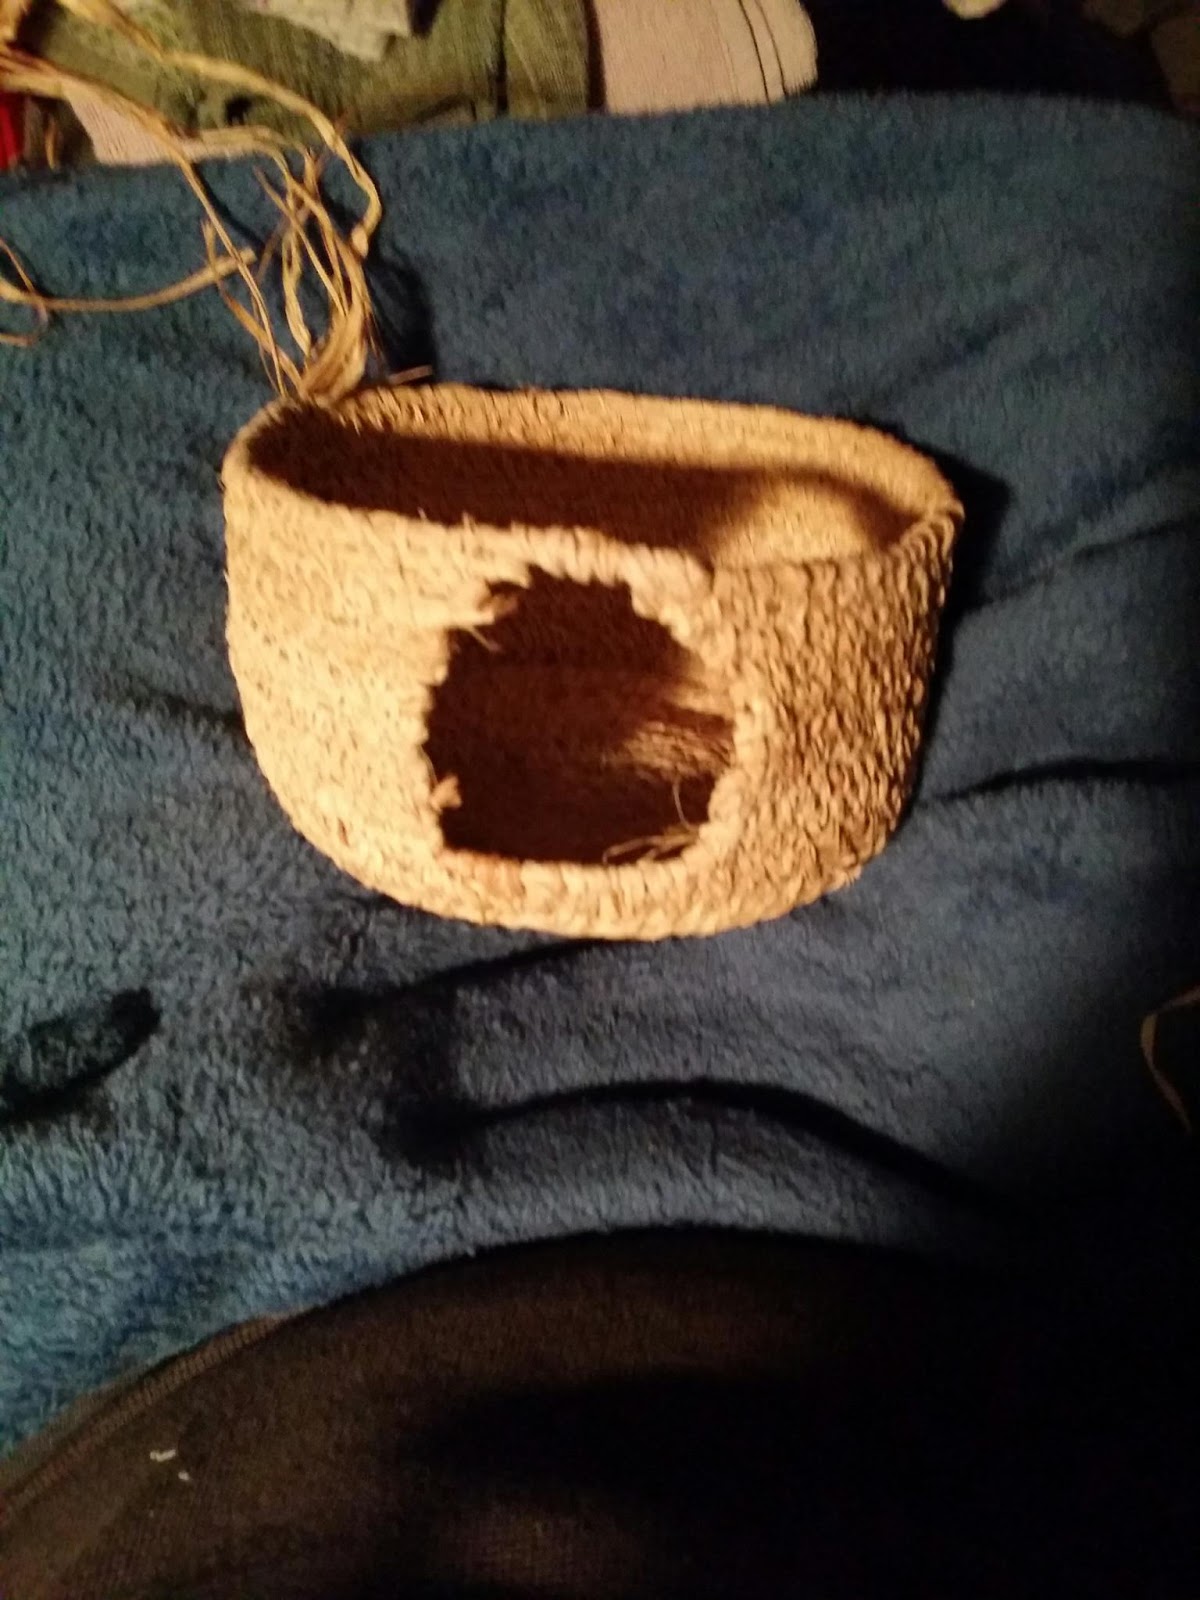
I love creating things with raffia! Here is the first few steps in making a little toy elf hut. It is made entirely of raffia, and is made by sewing the strips of raffia into a shape. The shape is started in the center on the bottom and gradually built up.


After the height of the bottom of the doorway is determined, the sides of the door opening are built up by going back and forth, while at the end of each round, a bit is added to form the curve, until the point of the door opening is built. Then the top of the door is closed and the circular sewing is resumed. The raffia strips are joined by laying the same thickness of strips on top of the previous ones at a point before the end is reached. The top of the main part of the house is inset a bit to serve as a notch to hold the rooftop. A little door is fashioned by starting to build strips of raffia from the bottom of the door shape, adding layers in a back and forth fashion, decreasing gradually to form a rounded top. The door is sewn on loosely enough to swing open, but tight enough to be a good fit. There is a little tab of raffia sewn in the inside of the door to make a latch. I will update this after the roof is built!


Here is a pile of raffia that I pick nice uniform strips from to add to the concentric shape. 

The doorway is finished by sewing a single strip around the inner edge to even it up. 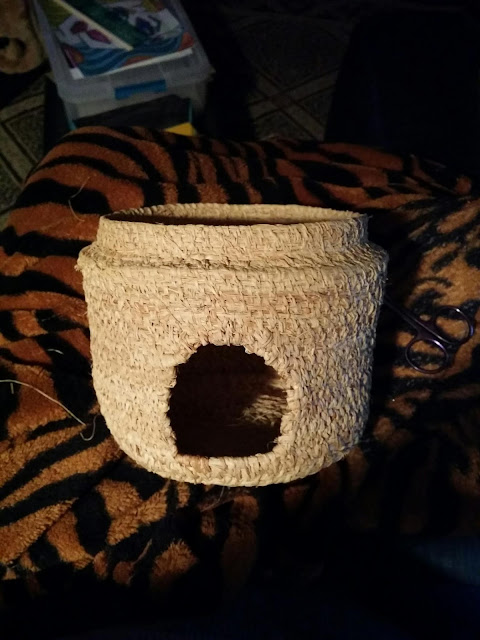

After the door was sewn, I added a little handle shape. 


No comments:
Post a Comment